

Chapter Outline
Advanced Routing Techniques: Nested Routes, Dynamic Routing, and Route Guards
React Router is a powerful library that simplifies navigation and routing in React applications. While basic routing is straightforward, advanced routing techniques such as nested routes, dynamic routing, and route guards allow developers to create more complex and feature-rich applications. In this article, part of the Modern React.js series, we’ll explore these advanced routing concepts in depth and demonstrate how to implement them in a React application.
Nested Routes
Nested routes allow you to define a hierarchy of routes, where child routes are rendered within the context of a parent route. This is particularly useful for structuring applications with multiple levels of navigation, such as a dashboard with different sections.
Setting Up Nested Routes
Directory Structure
bashsrc/├── App.jsx├── pages/│ ├── Dashboard.jsx│ ├── DashboardHome.jsx│ ├── Settings.jsx│ ├── Profile.jsx
Code Implementation
- Create the Components:
jsx1// DashboardHome.jsx2import { Outlet, Link } from 'react-router-dom';34export default function Dashboard() {5 return (6 <div>7 <h1>Dashboard</h1>8 <nav>9 <ul>10 <li><Link to="/dashboard">Home</Link></li>11 <li><Link to="/dashboard/profile">Profile</Link></li>12 <li><Link to="/dashboard/settings">Settings</Link></li>13 </ul>14 </nav>15 <Outlet />16 </div>17 );18}1920// DashboardHome.jsx21export default function DashboardHome() {22 return <h2>Welcome to the Dashboard</h2>;23}2425// Profile.jsx26export default function Profile() {27 return <h2>User Profile</h2>;28}2930// Settings.jsx31export default function Settings() {32 return <h2>Account Settings</h2>;33}
- Set Up the Nested Routes:
jsx1import { BrowserRouter as Router, Routes, Route } from 'react-router-dom';2import Dashboard from './pages/Dashboard';3import DashboardHome from './pages/DashboardHome';4import Profile from './pages/Profile';5import Settings from './pages/Settings';67function App() {8 return (9 <Router>10 <Routes>11 <Route path="/dashboard" element={<Dashboard />}>12 <Route index element={<DashboardHome />} />13 <Route path="profile" element={<Profile />} />14 <Route path="settings" element={<Settings />} />15 </Route>16 </Routes>17 </Router>18 );19}2021export default App;
How It Works
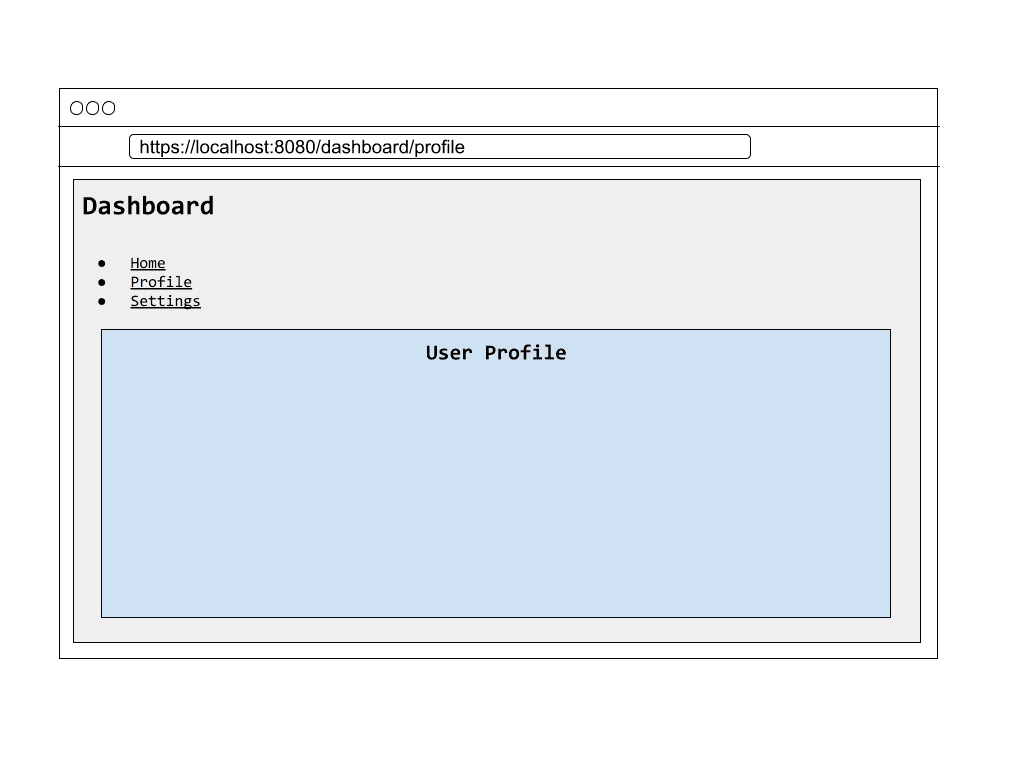
- The
Dashboardcomponent serves as the parent route and uses the<Outlet />component to render its child routes. - The child routes (
DashboardHome,Profile,Settings) are defined as nested routes within/dashboard. - The
indexroute renders by default when/dashboardis accessed.
Understanding the <Outlet> Component in React Router
The <Outlet> component is an essential part of React Router, used to render child routes in a nested routing setup. It acts as a placeholder that tells React Router where the child components (defined as nested routes) should be rendered. This enables developers to create layouts with shared components while rendering child-specific content dynamically.
For example, if you are building a dashboard with sections like "Profile" and "Settings," you can use the <Outlet> component in the parent route to define where these sections will appear within the layout.
Layout example:
jsx1// Dashboard.jsx2import { Link, Outlet } from 'react-router-dom';34/**5 * Dashboard layout component6 */7export default function Dashboard() {8 return (9 <div>10 <h1>Dashboard</h1>11 <nav>12 <ul>13 <li><Link to="profile">Profile</Link></li>14 <li><Link to="settings">Settings</Link></li>15 </ul>16 </nav>17 {/* The child route will be rendered here */}18 <Outlet />19 </div>20 );21}
Route Configuration:
jsx1import { BrowserRouter as Router, Routes, Route } from 'react-router-dom';2import Dashboard from './pages/Dashboard';3import Profile from './pages/Profile';4import Settings from './pages/Settings';56function App() {7 return (8 <Router>9 <Routes>10 <Route path="dashboard" element={<Dashboard />}>11 <Route path="profile" element={<Profile />} />12 <Route path="settings" element={<Settings />} />13 </Route>14 </Routes>15 </Router>16 );17}1819export default App;
How It Works
- The
Dashboardcomponent serves as the parent layout, displaying a header and navigation links. It uses the<Outlet />component to render the child routes (ProfileandSettings) dynamically. - When the user navigates to
/dashboard/profile, React Router will render the Profile component within the<Outlet />placeholder in theDashboardcomponent. Similarly, navigating to/dashboard/settingsrenders theSettingscomponent.
Dynamic Routing
Dynamic routing allows you to define routes with placeholders that can match dynamic segments of the URL. This is particularly useful for handling routes with parameters, such as viewing individual items in a list.
Setting Up Dynamic Routes
Directory Structure
bashsrc/├── App.jsx├── pages/│ ├── Products.jsx│ ├── ProductDetails.jsx
Code Implementation
- Create the Components:
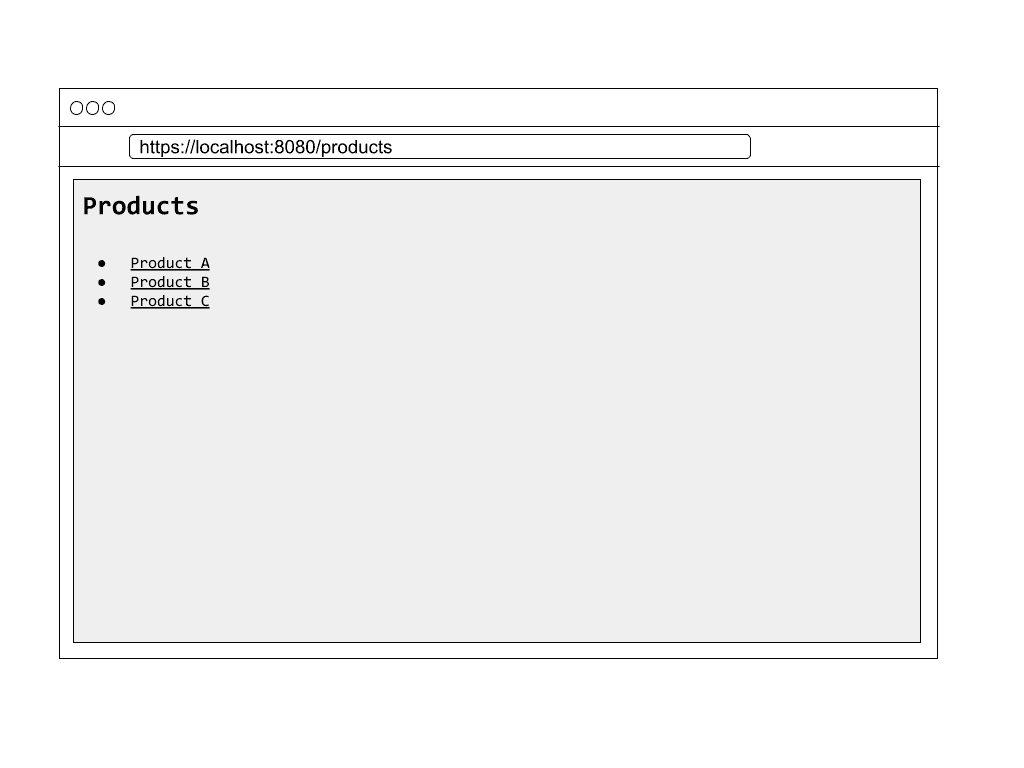
jsx1// Products.jsx2import { Link } from 'react-router-dom';34export default function Products() {5 const productList = [6 { id: 1, name: 'Product A' },7 { id: 2, name: 'Product B' },8 { id: 3, name: 'Product C' },9 ];1011 return (12 <div>13 <h1>Products</h1>14 <ul>15 {productList.map(product => (16 <li key={product.id}>17 <Link to={`/products/${product.id}`}>{product.name}</Link>18 </li>19 ))}20 </ul>21 </div>22 );23}2425// ProductDetails.jsx26import { useParams } from 'react-router-dom';2728export default function ProductDetails() {29 const { id } = useParams();3031 return (32 <div>33 <h1>Product Details</h1>34 <p>Viewing details for product ID: {id}</p>35 </div>36 );37}
- Set Up the Routes:
jsx1import { BrowserRouter as Router, Routes, Route } from 'react-router-dom';2import Products from './pages/Products';3import ProductDetails from './pages/ProductDetails';45function App() {6 return (7 <Router>8 <Routes>9 <Route path="/products" element={<Products />} />10 <Route path="/products/:id" element={<ProductDetails />} />11 </Routes>12 </Router>13 );14}1516export default App;
How It Works
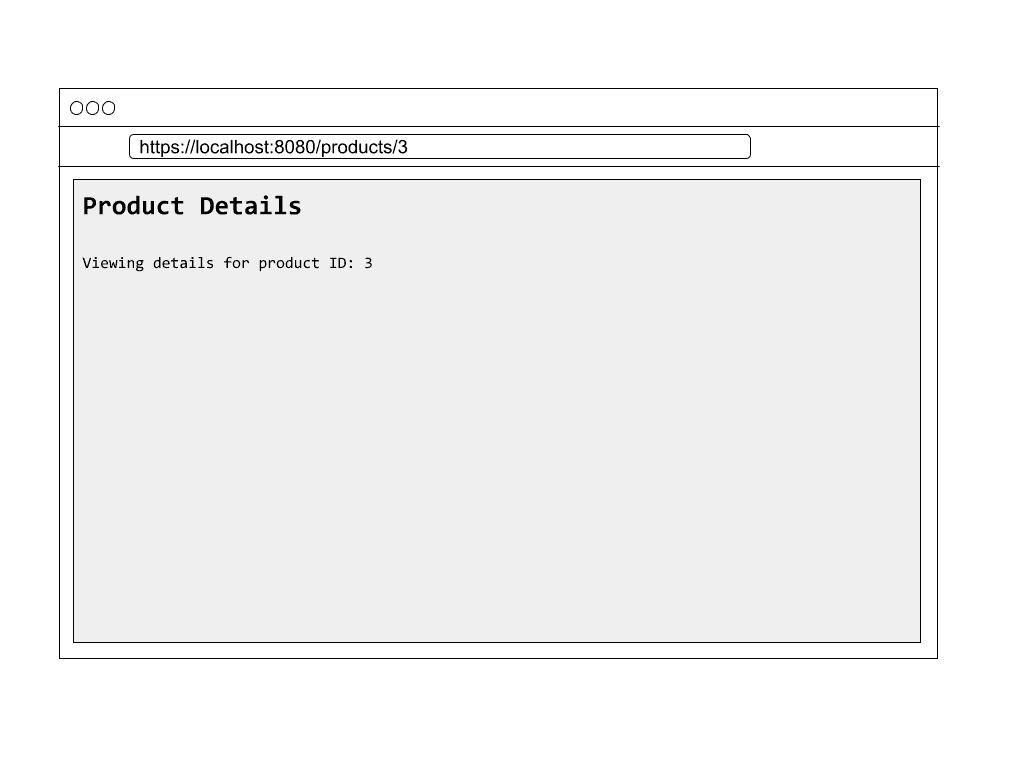
- The
:idin the route definition (/products/:id) represents a dynamic parameter. - The
useParamshook is used in theProductDetailscomponent to access the dynamic id parameter from the URL.
Route Guards
Route guards are used to protect specific routes by restricting access based on conditions, such as user authentication. This ensures that only authorized users can access certain parts of your application.
Implementing Route Guards
Code Implementation
- Create a Fake Authentication Service:
auth.js1export const isAuthenticated = () => {2 return localStorage.getItem('auth') === 'true';3};45export const login = () => {6 localStorage.setItem('auth', 'true');7};89export const logout = () => {10 localStorage.removeItem('auth');11};
- Create a Protected Route Component:
jsx1import { Navigate } from 'react-router-dom';2import { isAuthenticated } from './auth';34export default function ProtectedRoute({ children }) {5 if (!isAuthenticated()) {6 return <Navigate to="/login" />;7 }8 return children;9}
- Set Up Routes with Guards:
jsx1import { BrowserRouter as Router, Routes, Route } from 'react-router-dom';2import ProtectedRoute from './ProtectedRoute';3import Dashboard from './pages/Dashboard';4import Login from './pages/Login';56function App() {7 return (8 <Router>9 <Routes>10 <Route path="/login" element={<Login />} />11 <Route12 path="/dashboard"13 element={14 <ProtectedRoute>15 <Dashboard />16 </ProtectedRoute>17 }18 />19 </Routes>20 </Router>21 );22}2324export default App;
- Create the Login Component:
jsx1import { useNavigate } from 'react-router-dom';2import { login } from './auth';34export default function Login() {5 const navigate = useNavigate();67 const handleLogin = () => {8 login();9 navigate('/dashboard');10 };1112 return (13 <div>14 <h1>Login</h1>15 <button onClick={handleLogin}>Log In</button>16 </div>17 );18}
How It Works
- The
ProtectedRoutecomponent checks if the user is authenticated using theisAuthenticatedfunction. - If the user is not authenticated, they are redirected to the
/loginpage using the<Navigate />component. - Upon successful login, the user is redirected to the protected route (e.g.,
/dashboard).
Conclusion
Advanced routing techniques like nested routes, dynamic routing, and route guards are essential for building scalable, user-friendly, and secure React applications. With React Router, these techniques can be implemented efficiently, enabling you to create complex applications with ease.
By combining these techniques, you can handle hierarchical navigation, dynamic content, and protected routes seamlessly. For more details, check out the React Router documentation. Stay tuned for the next article in the Modern React.js series!