

Introduction to React: Building your first React component
React, is a powerful JavaScript library for building user interfaces. It is renowned for its efficiency and flexibility. One of the foundational concepts of React is components, which are reusable pieces of code that represent a part of the UI. In this article, we'll walk you through building your first React component, step-by-step.
What is a React Component?
A React component is a small, reusable piece of code that returns a React element to be rendered to the page. Components can be thought of as custom, self-contained HTML elements that can accept inputs (props) and manage their own state.
Components come in two types:
- Functional Components: These are simple functions that accept props and return React elements.
- Class Components: These are ES6 classes that extend
React.Componentand have more capabilities like managing state and lifecycle methods.
Setting Up Your React Environment
Before creating your first component, ensure you have a React environment set up. If you haven't already, you can set up a new React project using Create React App.
- Install Node.js and npm: React and Create React App require Node.js and npm. You can download and install them from nodejs.org.
- Create a New React App
npx create-react-app my-first-react-app
cd my-first-react-app
npm start
This command sets up a new React project and starts the development server. Your default browser should open at http://localhost:3000, displaying a welcome message.
Creating Your First React Component
Let's create a simple React component that displays a greeting message.
Step 1: Functional Component
First, we'll create a functional component. Open the src directory and create a new file named Greeting.js.
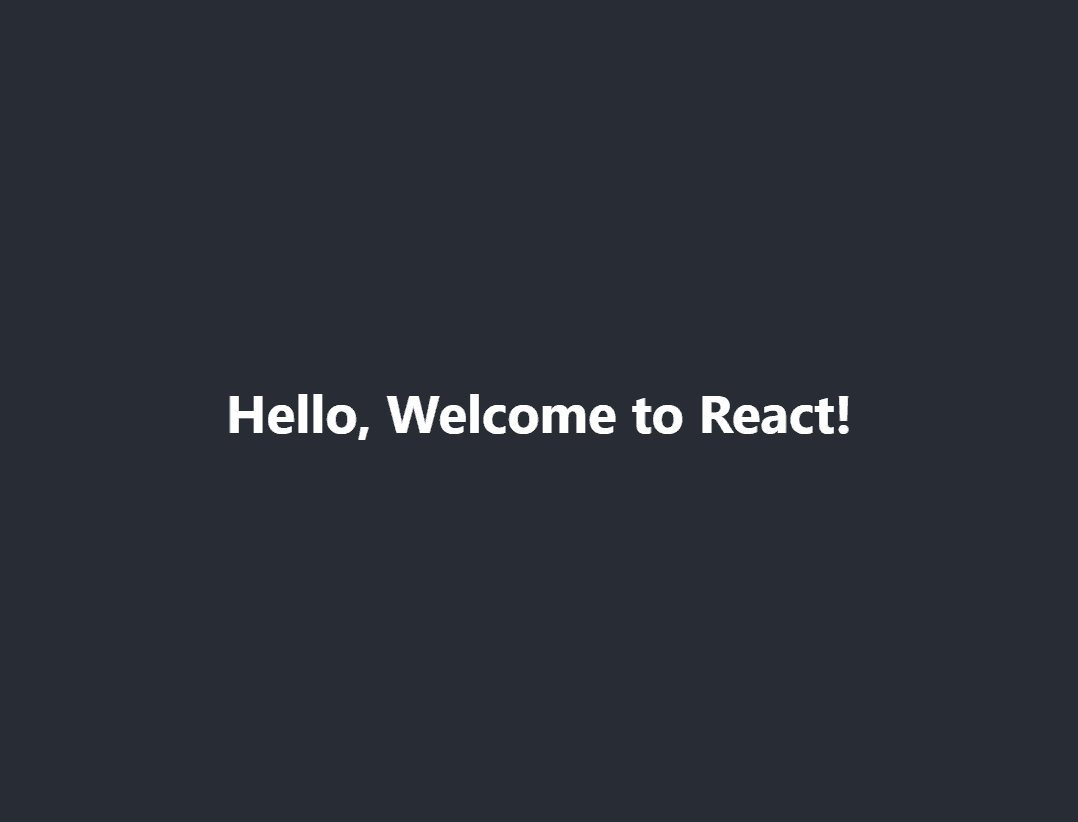
// src/Greeting.js
import React from 'react';

function Greeting() {
  return <h1>Hello, Welcome to React!</h1>;
}

export default Greeting;
In this file, we've defined a functional component named Greeting that returns a simple greeting message.
Step 2: Using the Component
Next, let's use this Greeting component in our main App component. Open src/App.js and modify it as follows:
// src/App.js
import React from 'react';
import './App.css';
import Greeting from './Greeting';

function App() {
  return (
    <div className="App">
      <header className="App-header">
        <Greeting />
      </header>
    </div>
  );
}

export default App;
In this code, we've imported the Greeting component and used it within the App component's JSX. When you save the file, the browser should automatically refresh, displaying the greeting message.
Adding Props to the Component
Props are inputs to a React component. They allow you to pass data from a parent component to a child component. Let's modify our Greeting component to accept a name prop and display a personalized greeting.
Step 1: Update the Component
Update the Greeting component to accept and use props:
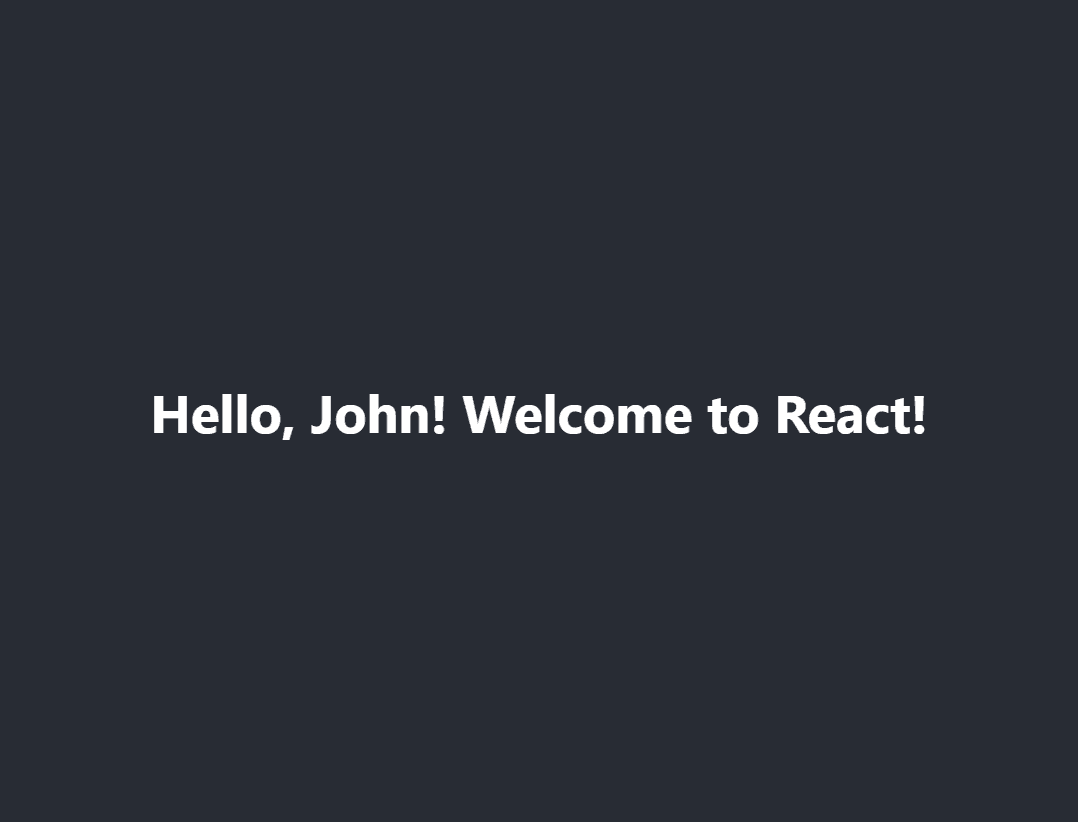
// src/Greeting.js
import React from 'react';

function Greeting(props) {
  return <h1>Hello, {props.name}! Welcome to React!</h1>;
}

export default Greeting;
Step 2: Pass Props
Now, pass a name prop to the Greeting component in App.js:
// src/App.js
import React from 'react';
import './App.css';
import Greeting from './Greeting';

function App() {
  return (
    <div className="App">
      <header className="App-header">
        <Greeting name="John" />
      </header>
    </div>
  );
}

export default App;
With these changes, the greeting message should now include the name "John".
Class Components and State
Let's create a class component and use state to manage the data. We'll create a Counter component that increments a count when a button is clicked.
Step 1: Create the Class Component
Create a new file named Counter.js in the src directory:
// src/Counter.js
import React, { Component } from 'react';
class Counter extends Component {
constructor(props) {
super(props);
this.state = { count: 0 };
}
increment = () => {
this.setState({ count: this.state.count + 1 });
};
render() {
return (
<div>
<p>Count: {this.state.count}</p>
<button onClick={this.increment}>Increment</button>
</div>
);
}
}
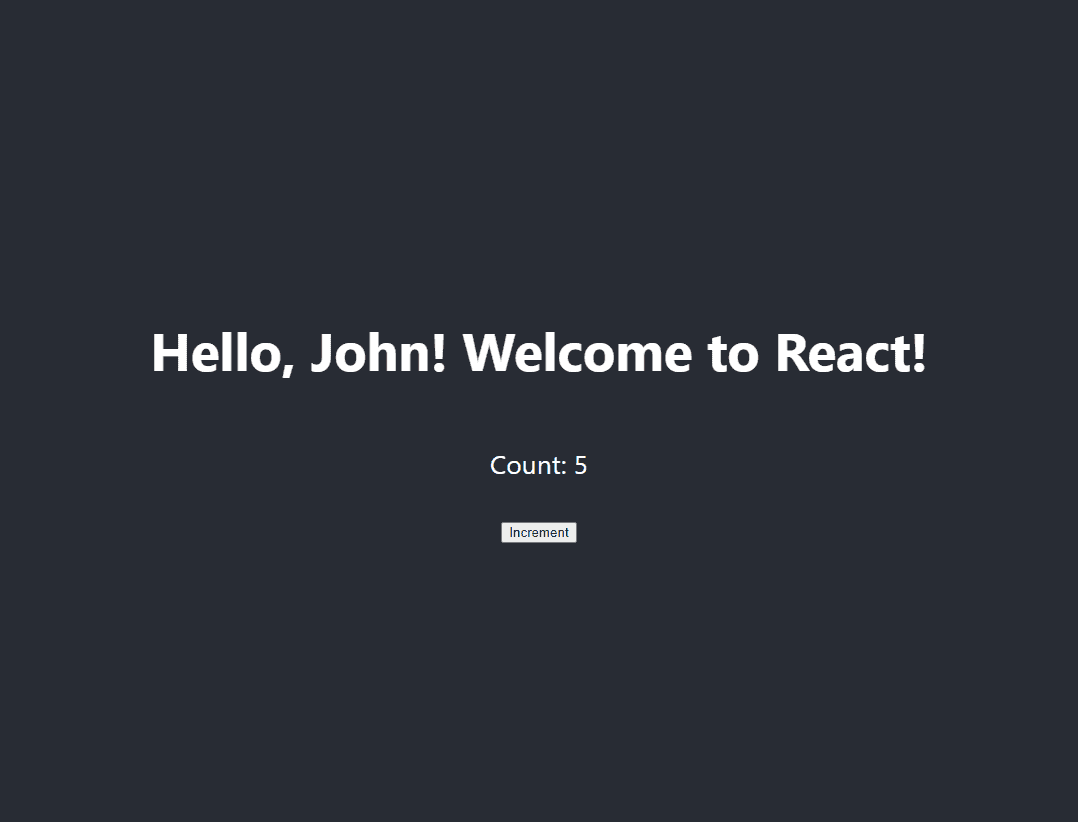
export default Counter;In this code, we've defined a Counter class component with a state property count and a method increment to update the count.
Step 2: Use the Class Component
Import and use the Counter component in App.js:
// src/App.js
import React from 'react';
import './App.css';
import Greeting from './Greeting';
import Counter from './Counter';

function App() {
  return (
    <div className="App">
      <header className="App-header">
        <Greeting name="John" />
        <Counter />
      </header>
    </div>
  );
}

export default App;
When you save the file and view the application, you should see the counter and the button. Clicking the button will increment the count.
Conclusion
In this article, we covered the basics of building your first React component. We started with a simple functional component, added props for customization, and then created a class component with state management. Understanding these fundamental concepts is crucial as they form the foundation for building more complex and dynamic user interfaces with React.
Additional Resources
To further explore React and enhance your skills, consider checking out these resources:
- Official React Documentation: The official React documentation is a comprehensive resource for learning React.
- React Components: Learn more about React components and props.
- State and Lifecycle: Understand state management and lifecycle methods in React.
- React Hooks: Learn about using hooks to manage state and side effects in functional components.
By experimenting with different components and exploring these resources, you'll gain a deeper understanding of React and become proficient in building dynamic, responsive UIs. Happy coding!