

Introduction to React: Setting Up Your First React Project
Creating a new React project can seem challenging, especially if you're new to the framework. However, with the help of Create React App, the process is streamlined and straightforward. In this article, we'll guide you through setting up your first React project, understanding the basic folder structure, and creating a simple React component.
Prerequisites
Before we begin, make sure you have the following installed on your machine:
- Node.js: Ensure you have Node.js installed. You can download it from the official website.
- npm or Yarn: Both npm (bundled with Node.js) and Yarn are package managers. You can choose either for managing your dependencies.
Step 1: Installing Create React App
Create React App is an officially supported way to create single-page React applications. It offers a modern build setup with no configuration. To install Create React App, open your terminal and run:
npx create-react-app my-first-react-appThis command will create a new directory called my-first-react-app with all the necessary files and dependencies installed.
Step 2: Running Your React Application
Navigate into your new project directory and start the development server:
cd my-first-react-app
npm start
This will start the development server, and you should see something like this:
Compiled successfully!
You can now view my-first-react-app in the browser.
Local: http://localhost:3000
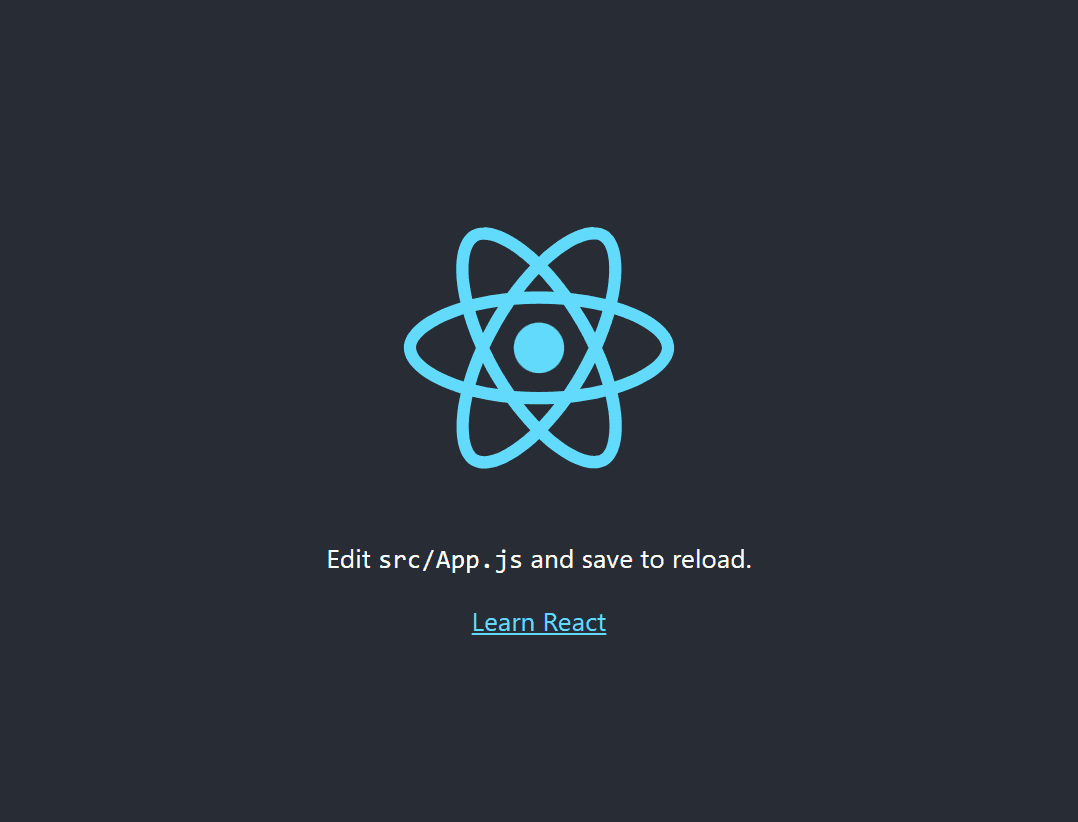
On Your Network: http://192.168.1.10:3000Open your browser and go to http://localhost:3000. You should see the default Create React App welcome screen.
Step 3: Understanding the Folder Structure
Let's take a look at the basic folder structure generated by Create React App:
my-first-react-app
├── README.md
├── node_modules
├── package.json
├── public
│   ├── favicon.ico
│   ├── index.html
│   ├── logo192.png
│   ├── logo512.png
│   ├── manifest.json
│   └── robots.txt
└── src
    ├── App.css
    ├── App.js
    ├── App.test.js
    ├── index.css
    ├── index.js
    ├── logo.svg
    ├── reportWebVitals.js
    └── setupTests.js
Key Files and Folders
publicfolder: Contains static files likeindex.html, which is the main HTML file for your React app.srcfolder: Contains the source code for your React application.index.js: The entry point of the application. This is where the React app is attached to the DOM.App.js: The main App component. This is where you'll start building your React components.App.css: The CSS file for styling your App component.
Step 4: Creating Your First React Component
React components are the building blocks of any React application. Let's create a simple component to display "Hello, World!".
Open App.js and replace its content with the following code
import React from 'react';
import './App.css';

function App() {
  return (
    <div className="App">
      <header className="App-header">
        <h1>Hello, World!</h1>
      </header>
    </div>
  );
}

export default App;
Open App.css and add some basic styling
.App {
  text-align: center;
}

.App-header {
  background-color: #282c34;
  min-height: 100vh;
  display: flex;
  flex-direction: column;
  align-items: center;
  justify-content: center;
  font-size: calc(10px + 2vmin);
  color: white;
}
Save your changes and go back to your browser. You should see a styled "Hello, World!" message.

Step 5: Adding More Components
Let's add another component to understand how components work together in React. Create a new file in the src folder named Greeting.js and add the following code:
import React from 'react';

function Greeting(props) {
  return (
    <div>
      <h2>{props.message}</h2>
    </div>
  );
}

export default Greeting;
In this example, the Greeting component accepts a message prop and displays it inside an h2 tag.
Now, modify the App.js file to use the Greeting component:
import React from 'react';
import './App.css';
import Greeting from './Greeting';
function App() {
return (
<div className="App">
<header className="App-header">
<h1>Hello, World!</h1>
<Greeting message="Welcome to my first React app!" />
</header>
</div>
);
}
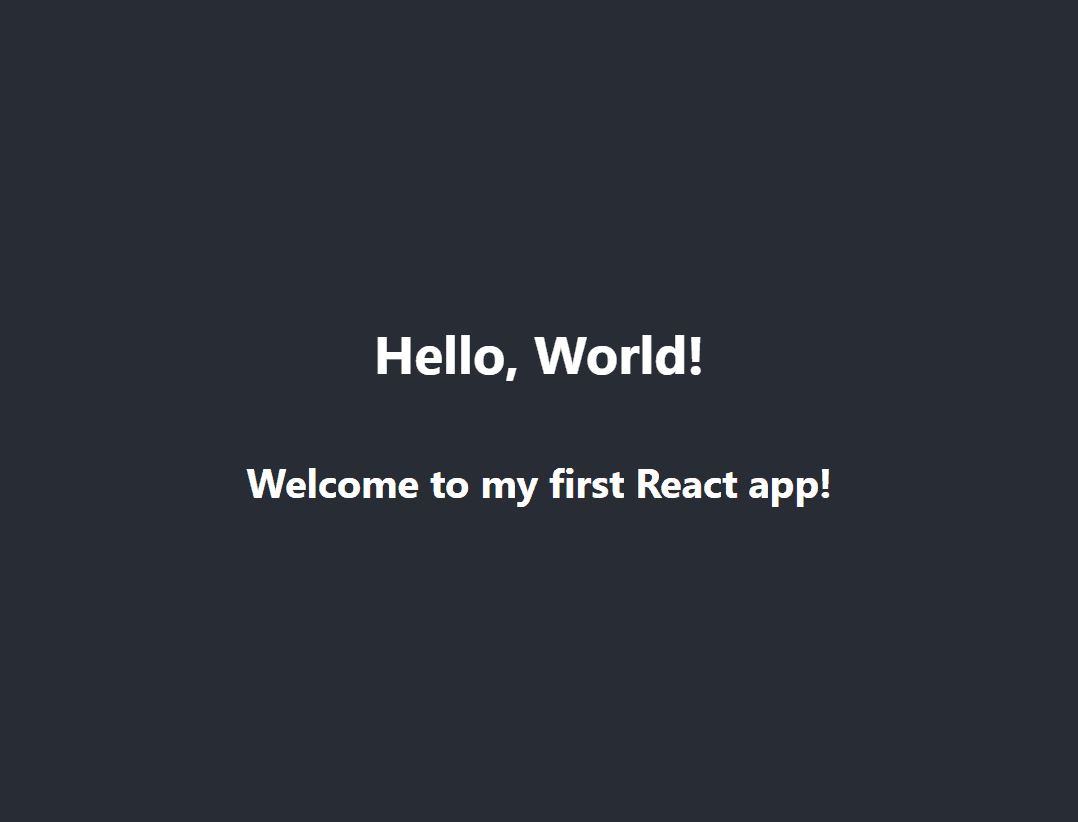
export default App;Save the changes and check your browser. You should now see both the "Hello, World!" message and the "Welcome to my first React app!" message.
Additional Resources
To further personalize and enhance your React knowledge, check out the following resources:
- Official React Documentation: The official documentation is a comprehensive resource for learning React.
- Create React App Documentation: Detailed documentation on Create React App.
- React Tutorial: An Introduction to React: A hands-on tutorial to help you learn the basics of React.
- MDN Web Docs: React: A well-rounded overview of React on MDN Web Docs.
- React by Example: Practical examples and tutorials for learning React.
Conclusion
Setting up your first React project with Create React App is a breeze, thanks to its streamlined setup process. Understanding the folder structure and learning how to create and use components are essential steps in your React journey. With this foundation, you're well on your way to building dynamic and interactive web applications using React. Happy coding!